Hey folks,
Lately, I’ve been bombarded with questions from friends and guests on my blog about how to make Shader Graph shaders compatible with stencil masks. You see, there’s no stencil node in Shader Graph, which can make things a bit tricky.
So, I’ve put together this quick tutorial to help you out. I hope you find it useful!
Let’s start
First things first, let’s start with the stencil mask shader code. If you don’t already have one, you can use the code below or download the shader.
If you already have a stencil mask shader in your project, feel free to skip ahead to this part of the tutorial and jump to part two.
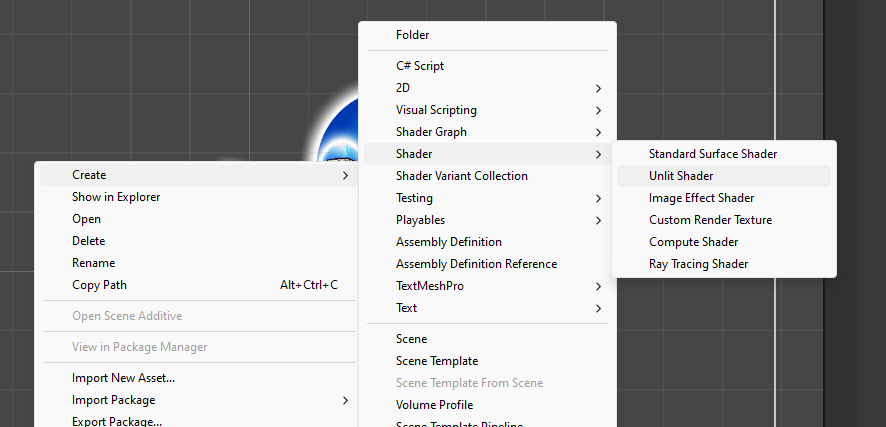
Create a new shader (name: StencilMask) in Unity and replace the code with the one provided below. Alternatively, you can download the shader directly from my blog.
Shader "Dornberg/StencilMask"
{
Properties
{
[IntRange] _StencilID("Stencil Value", Range(0, 255)) = 0
}
SubShader
{
Tags
{
"RenderType" = "Opaque"
"Queue" = "Geometry"
"RenderPipeline" = "UniversalPipeline"
}
Pass
{
Blend Zero One
ZWrite Off
Stencil
{
Ref[_StencilID]
Comp Always
Pass Replace
Fail Keep
}
}
}
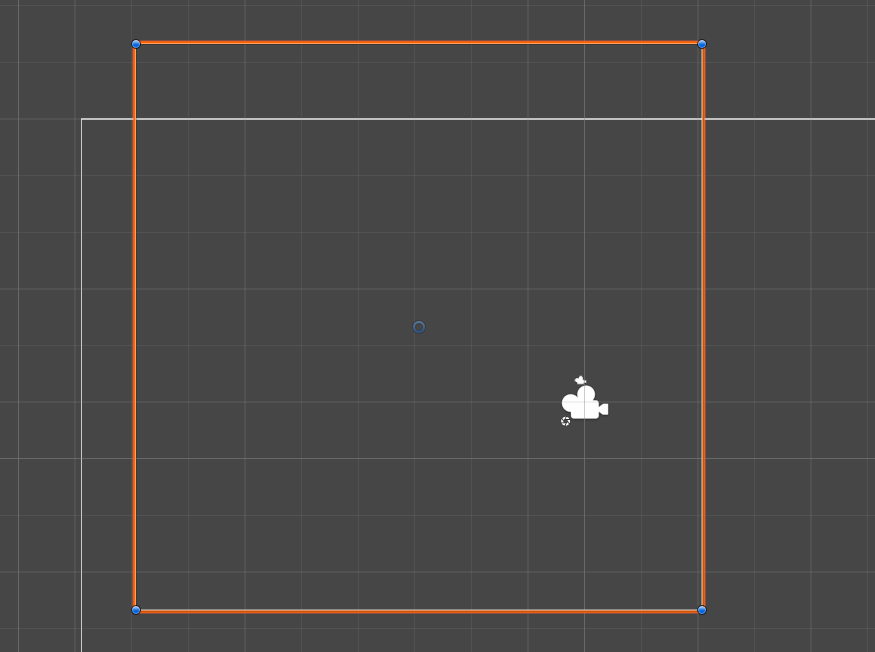
}Next, add a plane to your scene. We’ll use a plane mesh for this tutorial to keep things simple.
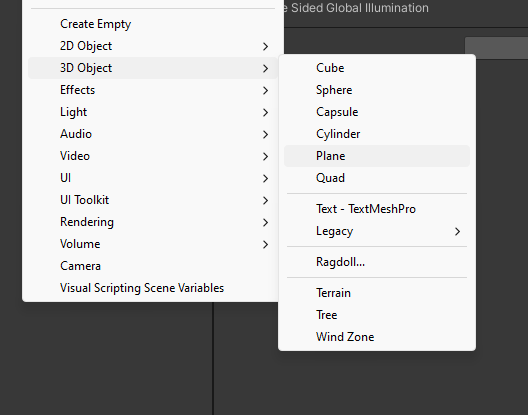
Rotate it along the X-axis by -90 degrees to ensure that the face is visible to the camera.

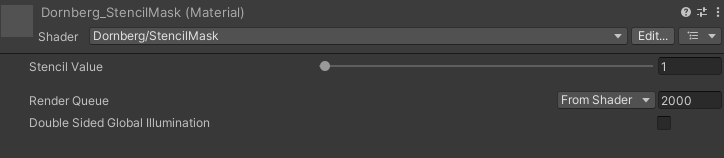
Now, right-click on our StencilMask shader and create a new material.
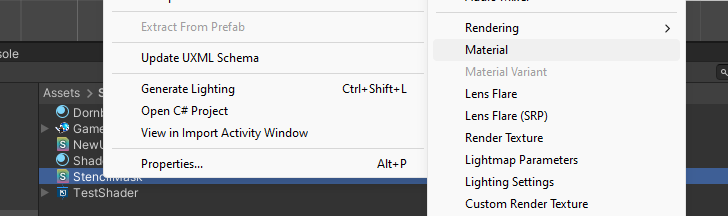
Amazing! Now we have a material with the Stencil Value property set value to 1.
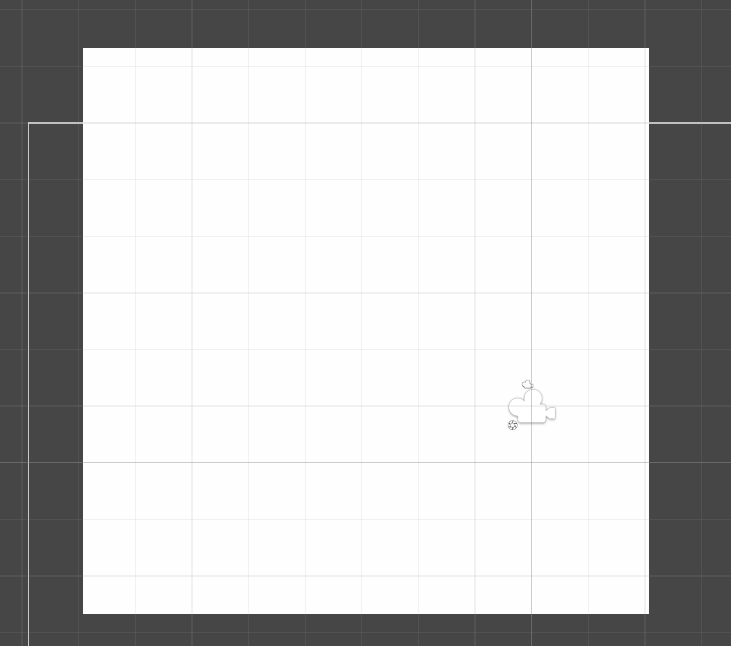
Drag and drop the newly created material onto the Plane. After you drop the material on the mesh in the scene, your plane is going to become invisible. Don’t worry, this is normal.
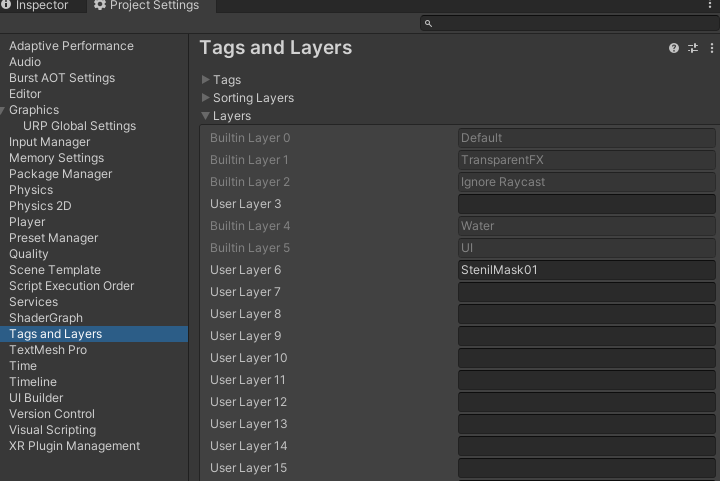
Half the job is done! Now let’s create a new render layer. Go to Project Settings -> Tags and Layers and create a new one (let’s call it ‘StencilMask01’ or any name you prefer).
Add objects you plan to make visible only inside the mask to the scene and change their render layer to the newly added layer (in our case, ‘StencilMask01’).

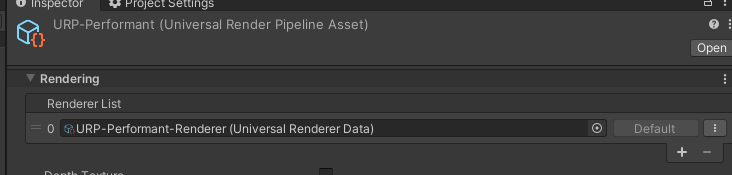
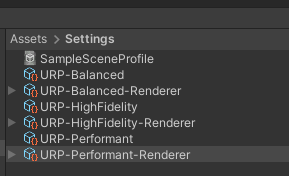
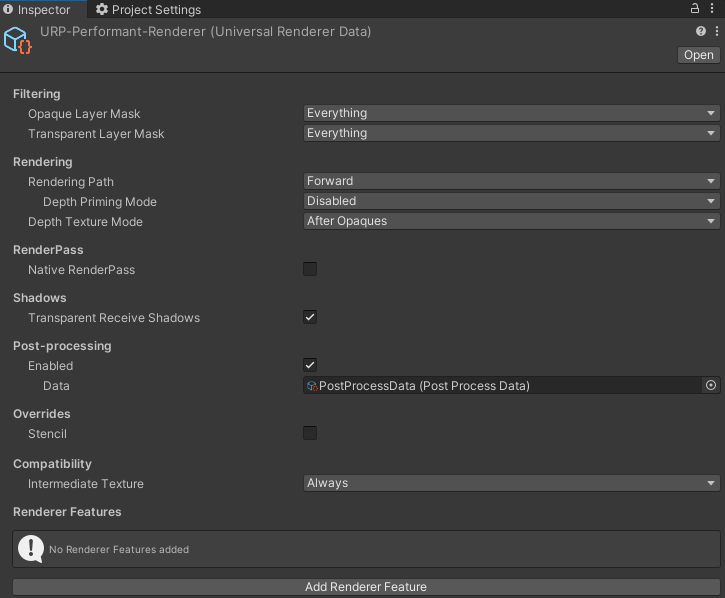
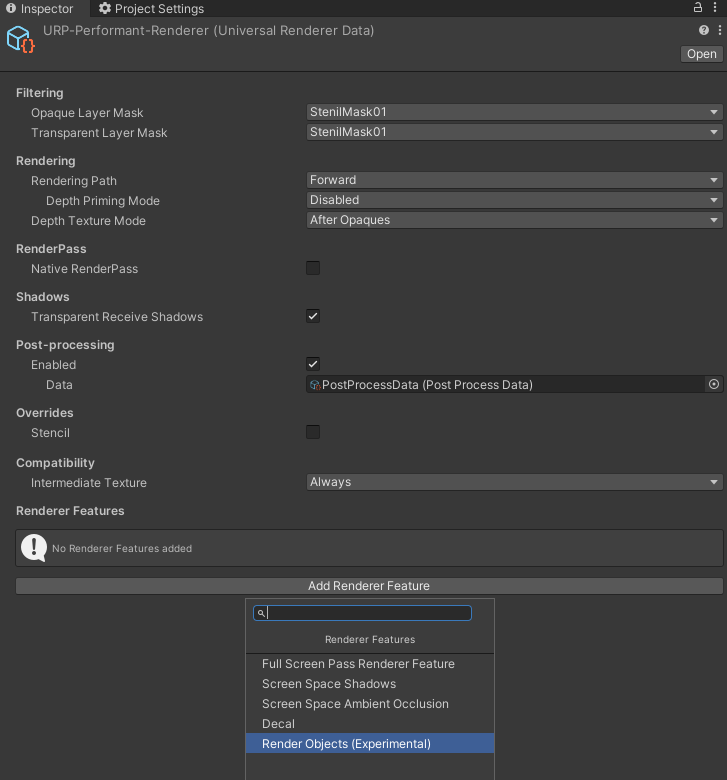
Now select your Universal Render Pipeline (URP) Data. For this project, I am using ‘URP-Performance-Renderer.
⚠️Make sure you select the correct one. To find the active renderers, navigate to Project Settings > Graphics and click on the Scriptable Render Pipeline Asset. Inside the Inspector, you’ll see the Renderers list. By default, you’ll typically find only one entry: Universal Renderer Data.
In the filtering options, untag only your newly added render layer, StencilMask01, for both the Opaque and Transparent layer masks.
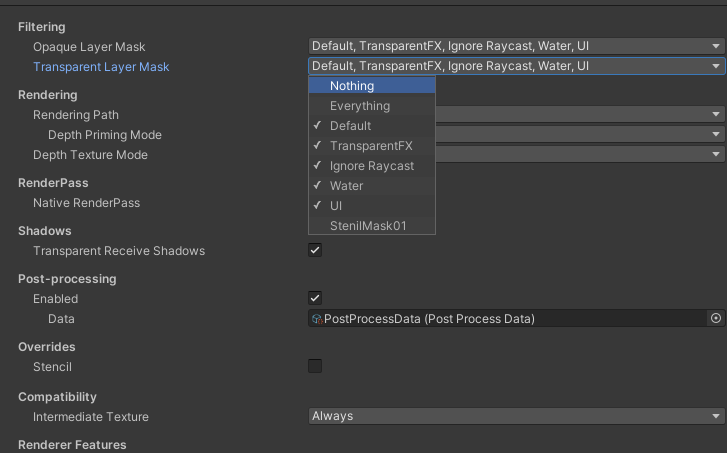
Our sprite or other objects may still be rendered inside and outside of the mask, but don’t worry. We have only a few steps left to see the result.
Click ‘Add Renderer Feature’ and select ‘Render Objects’.
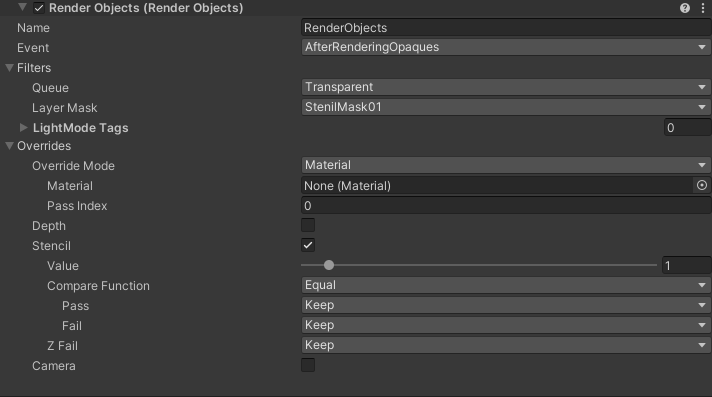
In the newly added Renderer Feature, change ‘Filters’ > ‘Queue’ to the type of ‘Transparent’ (⚠️if you plan to show both opaque and transparent objects inside the mask, you’ll need to add two Renderer Features, one for each type).
Next, change the ‘Layer’ masking to your newly added renderer layer (StencilMask01).
Scroll down and activate the ‘Stencil’ checkbox.
Set the ‘Value’ to the same value from your StencilMask material, which in my case is 1.
Finally, change the ‘Compare Function’ to ‘Equal’.
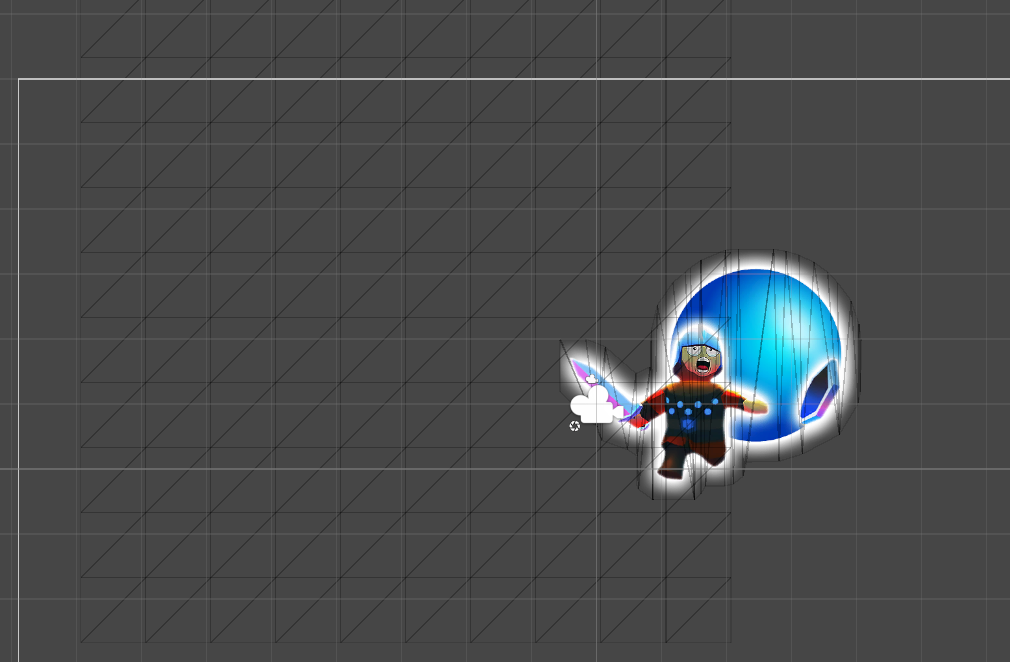
And voila! As you can see, our sprite is rendered only inside the mask.
Now, let’s enhance this by applying a cool material made with Shader Graph.
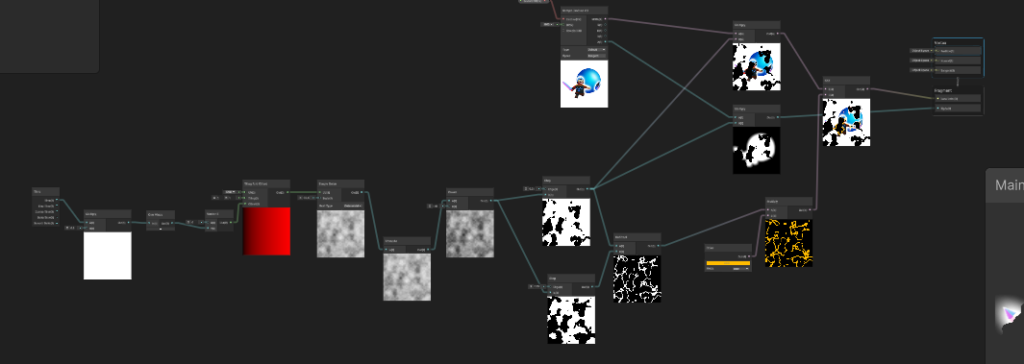
Now, armed with the capability to craft masks with distinct values, we can customize them to function with specific groups of objects. This empowers us to create even more visually stunning effects in the realm of 3D graphics.
This solution works with any type of shader, whether opaque or transparent. The most important aspect is to set up the rendering layers correctly and ensure that the Stencil value matches that of the mask stencil value.
As we know, stencil masks offer better performance since they are rendered only once, unlike sprite masks which are rendered twice from both the front and back. This means that stencil mask overdrawing is reduced by 50% compared to sprite masks, which can make a significant difference, especially for 2D games.
I hope this tutorial has been helpful, unlocking even more potential within Shader Graph. Let’s delve deeper into its capabilities!
Be First to Comment