Are you a game developer looking to add more realistic physics to your Unity projects? Hinge joints are a powerful tool in Unity’s physics engine that can add a level of realism and interactivity to your game. In this tutorial, we’ll explore how to use hinge joints in Unity and share some tips and tricks to get the most out of this feature.
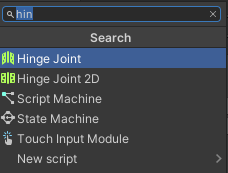
Step 1: Creating a Hinge Joint The first step in using hinge joints is to create a new GameObject with a Rigidbody component attached. Next, we’ll add a second GameObject and position it relative to the first GameObject. With both GameObjects selected, we can create a hinge joint by navigating to the Component menu and selecting Physics > Hinge Joint. This will add a new Hinge Joint component to the second GameObject.
Step 2: Configuring the Hinge Joint Once the hinge joint is created, we can start to configure its properties. One important property to note is the Anchor property, which determines the location where the hinge joint is connected to the first GameObject. We can also set the Axis property to define the rotation axis of the hinge joint.
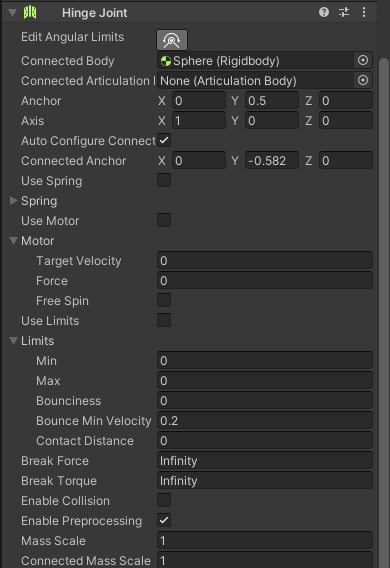
Step 3: Adding Limits and Motors One powerful feature of hinge joints is the ability to add limits and motors. Limits can be added to restrict the range of motion of the hinge joint, while motors can be used to apply force to the hinge joint and simulate movement. To add limits or motors, simply navigate to the relevant section of the Hinge Joint component and adjust the settings to your liking.
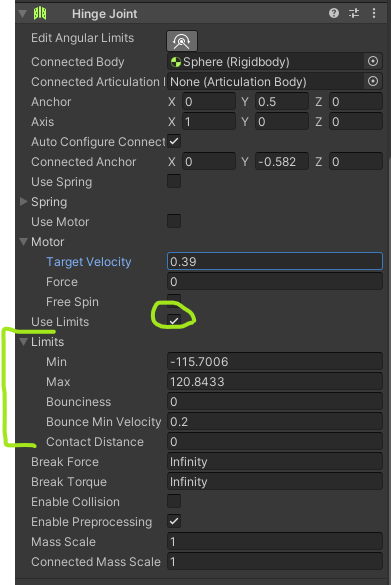
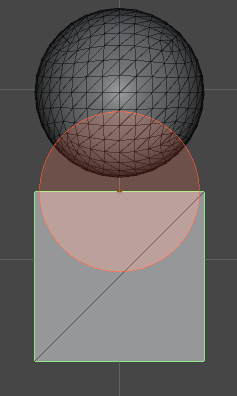
Step 4: Testing and Tweaking Once the hinge joint is configured, it’s time to test and tweak its settings. We can do this by running the game and observing the behavior of the hinge joint. If it’s not behaving as expected, we can adjust the hinge joint’s properties and retest until we’re satisfied with the results.
Tips and Tricks
- Use multiple hinge joints in combination to create complex physics interactions.
- Use motors to create dynamic and interactive environments.
- Experiment with different values for limits and motors to achieve the desired effect.
- Be mindful of the number of hinge joints used in your game, as too many can impact performance.
In conclusion, hinge joints are a powerful feature in Unity’s physics engine that can add a level of realism and interactivity to your game. By following the steps outlined in this tutorial and applying some tips and tricks, you can create dynamic and engaging physics interactions in your Unity projects.
For 2D games in Unity, the Hinge Joint 2D component is used for physics simulations involving rotation around a fixed point, just like the Hinge Joint component in 3D games.
Comments are closed.